Snapping Options Dialog
To help with drawing, construction and layout, the 2D View has Rulers which are displayed along the top and down the left side of the window. In addition to the Rulers there is the option to use Guidelines and The Smart Cursor to help with construction of vectors or positioning of other objects in the 2D View.
Rulers
The Rulers are permanently displayed in the 2D view to help with positioning, sizing and alignment. The graduated scale automatically uses the units set for the project and zooming in / out shows the sizes in 10ths.
Guidelines
Guide Lines are used to help layout designs and make it very easy to sketch shapes by clicking on the intersections of Guides. Guide Lines are easily be added to the 2D view by pressing the left mouse button down on the appropriate ruler (left if you want a vertical guide and top if you want a horizontal guide) then holding the button down and dragging the mouse into the 2D view.
While dragging a Guide into position it automatically Snaps to the units displayed on the ruler. This snapping behavior can be overridden by holding down a Shift key while dragging the guide. After positioning a Guide it can easily be moved to a new position by clicking the right mouse button on the guide to open the Guide Properties form as shown later in this section. If you hover the mouse over a Guideline then its current position is displayed next to the cursor
Additional guide lines can be added relative to an existing guide line by interactively placing the cursor over an existing guide (the cursor changes to 2 horizontal arrows), Holding a Ctrl key and dragging to the required position. The incremental distance between the guide lines is displayed next to the cursor. Releasing a Ctrl key changes to display the absolute distance from the material origin.
Guides can also be added and other edits made by right clicking on the Guideline which will bring up the Guide Properties form:
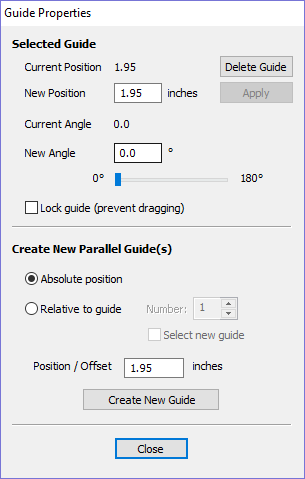
The exact position can be specified by entering a New Position.
Guides can be given an angle by either entering an angle into the New Angle box or dragging the slider and clicking . Angles are measured in degrees counterclockwise from the x-axis. From an angled guide you can only create relative parallel guides.
Guide lines can be locked in position to stop them from being inadvertently moved by ticking the Lock Guide option.
Additional Guide Lines can be added that are positioned using absolute or incremental coordinates. Enter the Absolute or relative positions and Click .
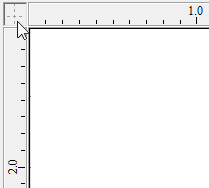
Guides can quickly be toggled visible / invisible by clicking in the Top Left Corner of the 2D view:
Alternatively the visibility can be changed using View Menu ► Guide Lines from the Main MenuView Menu ► Guide Lines ► Delete All Guides from the Main Menu
Snapping Options
These options can be used to help create and edit vector geometry.
The Snapping Options form can be accessed by selecting Edit ► Snap Options from the Main MenuF4.
Display Text at Cursor
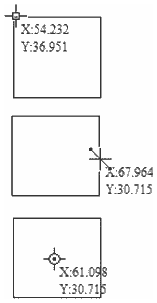
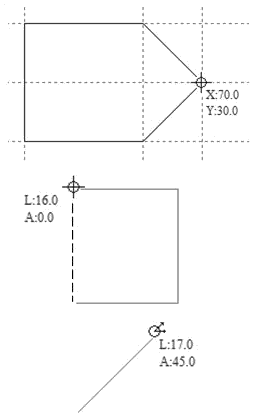
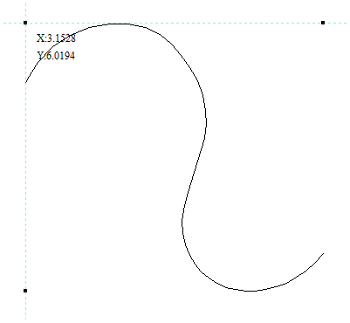
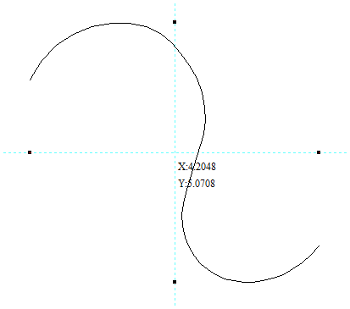
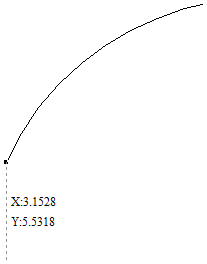
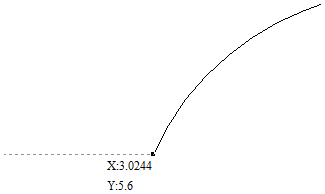
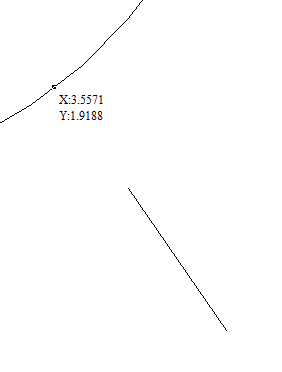
Displays the XY coordinates on the cursor making it easy to see the position for each point
Snap to Guides
When this option is checked ✓ drawing and positioning vectors will snap onto any horizontal or vertical guide lines visible in the 2D view.
Snap Guides to Geometry
When checked, ✓ the Guide Lines can snap to Geometry while being dragged.
Snap to Grid
Displays a grid of points separated by the Grid Spacing which can be snapped to when drawing or editing vectors and other objects in the 2D View.
Snap Distances
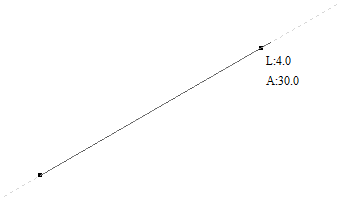
Snap to fixed lengths based on your zoom level. This occurs when creating shapes, dragging nodes or vectors.
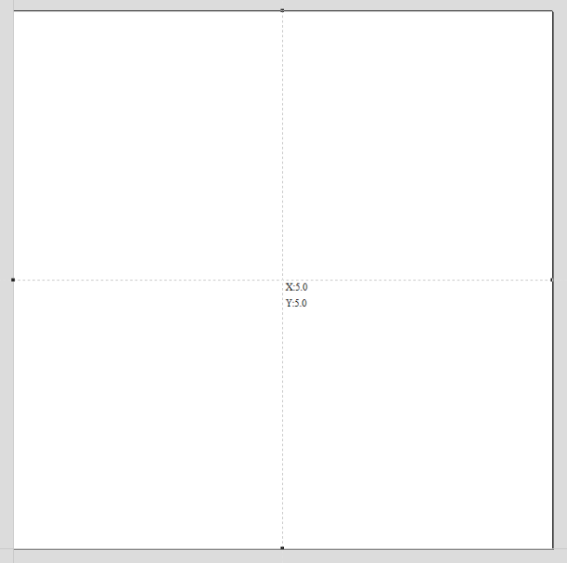
Snap to Job Center and Corners
Snap to the job corners and center. This, also, control the job smart snapping
Fixed Nudge Distances
Objects can be moved small, fixed distances (nudged) by holding Ctrl + Shift and tapping the arrow keys. The Fixed Nudge Distance specifies the distance to move selected objects with each nudge.
Snapping Radius
The snap radius (pixels) will adjust how close the cursor must get to vector geometry in order to snap it. If you work quickly and grab and throw geometry at speed, you may prefer a larger Snapping Radius to pick up geometry that is vaguely near the mouse. If you work precisely or have complex overlapping geometry, you may prefer a smaller Snapping Radius to avoid having to zoom in to select one geometry in an area that has many nearby vectors.
Geometry Snapping
Used to control the position at which the cursor will snap when drawing and moving objects. When drawing, the cursor will snap to items on vector geometry depending what options you have selected in the form under this section.
Object centers, Span End points, Span Mid-points, Arc centers, intersections Horizontally, Vertically and the specified Angle and Distance Guide lines and the intersection of Guides
Smart Snapping
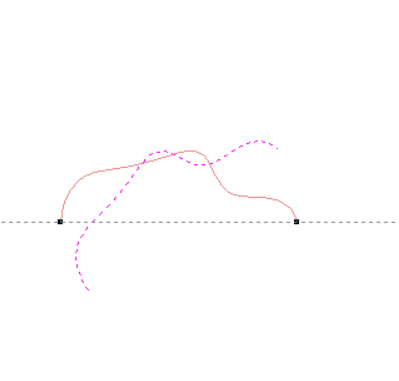
Smart snapping works by snapping the cursor to imaginary lines related to vectors and/or nodes. These lines will appear as dashed, and sometimes coloured, lines that go through the vector or node and the cursor point. You can snap to the intersection of those lines by hovering over the nodes that you're interested in. This reduces the need to create construction geometry (for example, for aligning nodes or vectors), and can be used in almost all the shape creation tools, node editing and transforming vectors.
Note
A node is the start, middle, or end point of a span.
Note
The snapping system is watching to see which vectors you hover the mouse over. It remembers that last few vectors as the ones you want to work with and draws the snap lines for those as a priority. There is a maximum number of nodes and vectors that can be "woken up" at the same time to avoid too many snap lines appearing at once.
Snapping lines can be drawn from:
- Nodes that were woken up by hovering the mouse over them or their span
- Vector properties, such as their bounding box or center point
- Material properties, such as extensions from the edge and the middle
Note
It is possible to wake up vectors on the other side of a double-sided job.
Cursor | Type | Description |
|---|---|---|
 | Object Bounds | The theoretical bounding box surrounding the active vector |
  | Horizontal and Vertical Lines | Horizontal and vertical lines passing through a node or a span midpoint. |
| Tangents | Tangents originating from a node or a span midpoint. |
| Perpendicular to Tangents | Lines which are perpendicular to tangents from nodes or span midpoints. |
 | Connecting Lines | Lines connecting two nodes. Includes mid-point. |
 | Span Geometry | Snap to the geometry of the vector. |
 | Angular Constraints | Snapping to specific angles, as defined in the snap options F4. |
  | Job | Horizontal and vertical lines through the center of the job. |
Object Bounds
These snap lines appear on the bounding box edges of the vector, and in the middle horizontally and vertically.
Vertical and Horizontal Lines
Nodes
The snap lines appear when the cursor is near the horizontal or vertical line passing through the woken nodes.
Vectors
Snap lines become available while moving vectors so that it is used for aligning them with other vectors.
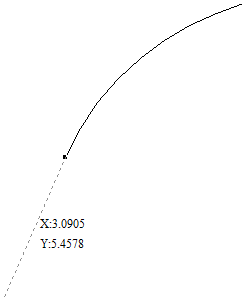
Tangents
These snap lines originate from the woken node and will appear as an extension along the end of the belonging span.
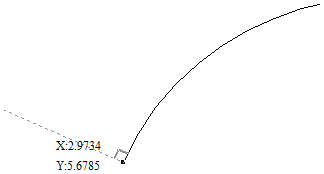
Perpendicular to Tangents
These snap lines will be 90° from the tangent snap line.
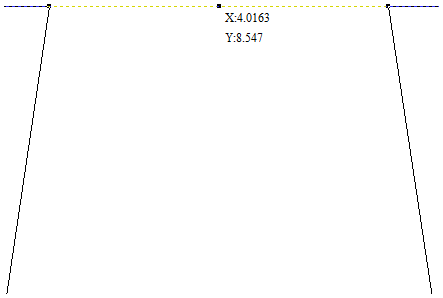
Connecting Lines
If you wake two or more nodes, you could snap to the line connecting them. You could, also, snap to the mid-point of that line.
Span Geometry
This allows you to snap to the geometry of the vectors.
Angular Constraints
Job Edges & Centre
If you have the job snapping enabled, you could snap to the horizontal and vertical middle lines. This also includes the lines extending from the job's edges.
End point alignment
The start and end points can be aligned horizontally or vertically while the vector is being rotated.
Toolbar Snapping Options
Geometry Snapping, Smart Snapping and Grid Snapping can be switched on and off from the View Toolbar
Any change to the snap settings F4, through the Main Menu or the toggles on View Toolbar will be remembered for subsequent sessions.
Disable snapping temporarily
Snapping can be temporarily disabled by holding down the Shift key.